 English
 عربى
عربى Português
 Español
The water looks clear right up until the moment it doesn't.
A water dispenser sits at the center of daily hydration in most homes and offices, which is exactly why what's growing inside it matters. The reservoir and internal tubing stay damp and dark around the clock — conditions that let mold, mineral scale, and bacterial film build up long before anything looks or smells wrong at the tap. Cleaning it properly isn't complicated, but it does require the right products, the right order of steps, and a routine that matches how hard the local water supply is.
Typical interval recommended for a full internal sanitization cycle under normal water conditions.
Standard diluted bleach ratio considered safe for sanitizing internal tank surfaces before a thorough rinse.
Roughly how much quicker limescale dissolves in undiluted white vinegar compared with a plain water rinse.
Product comparisonNatural Cleaning Solutions vs Chemical Disinfectants: Which Works Better
Two very different cleaning philosophies show up in most water dispenser routines, and each one is genuinely better suited to a different problem. Natural agents like white vinegar, baking soda, and lemon juice handle mineral scale well and carry no fumes or residue risk, while a diluted bleach solution is the more reliable choice for actually killing bacterial and mold colonies rather than just loosening them.
| Cleaning Agent | Best For | Limitation |
| NaturalWhite vinegar | Dissolving limescale and mineral deposits | Weaker against established bacterial biofilm |
| NaturalBaking soda paste | Scrubbing stained or discolored plastic surfaces | Requires manual agitation; slower on scale |
| NaturalLemon juice | Neutralizing odor and light mineral film | Not strong enough for heavy contamination |
| ChemicalDiluted bleach (1 tbsp/gal) | Sanitizing against mold and bacteria | Needs thorough rinsing before use resumes |
In practice, most thorough cleanings use both categories in sequence: a natural descaling pass first to clear mineral buildup, followed by a diluted disinfectant step to address anything scale was hiding. Whichever products are used, checking the manufacturer's care guidance first helps avoid damaging internal seals or plastic components that aren't rated for stronger solutions.
Full processStep-by-Step: How to Clean a Water Dispenser Safely
- Unplug the unit from its power source completely before touching any internal component — this removes any risk of electric shock during a process that involves standing water.
- Drape a cloth or towel around the base to catch incidental drips while the reservoir is open and being emptied.
- Remove the water bottle if the unit uses one, then drain any remaining water from the reservoir completely.
- Wash the reservoir walls and any removable parts with warm water and a natural or mild soap solution, using a soft brush to reach corners and seams.
- Apply a vinegar rinse or descaling solution to any visible mineral buildup, letting it sit for several minutes before scrubbing.
- Sanitize with a diluted bleach solution if bacterial growth or persistent odor is present, then rinse the reservoir multiple times until no smell remains.
- Wipe the exterior, drip tray, and dispensing nozzles with a clean, damp cloth before reassembling and refilling the unit.
Design comparisonBottled vs Bottleless Dispensers: Cleaning Differences That Matter
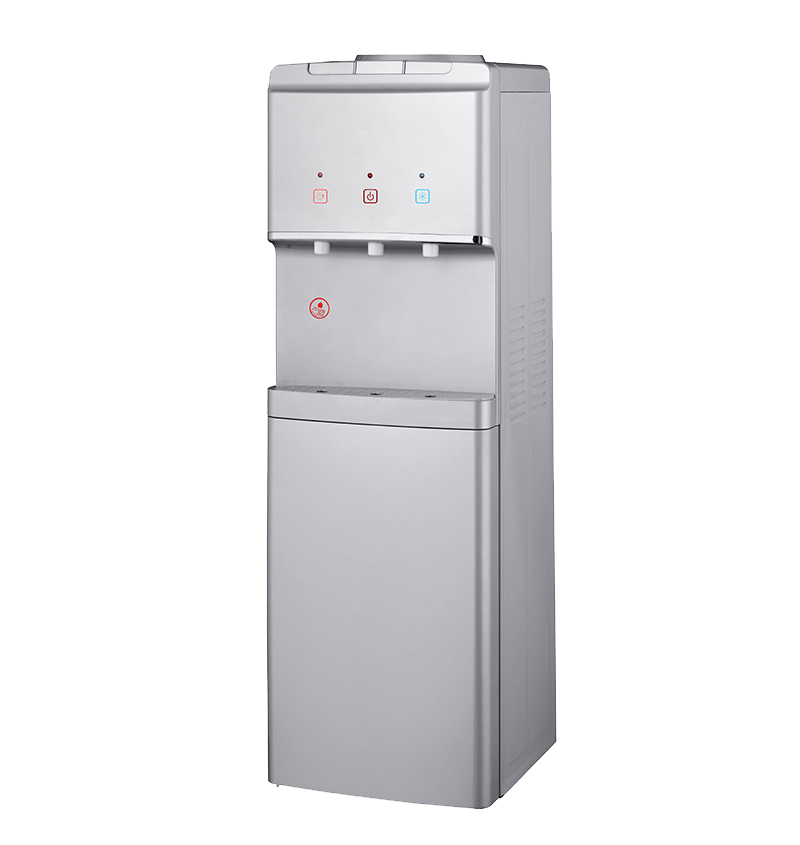
Not every water dispenser is built the same way internally, and the design affects both how often cleaning is needed and how it's carried out. A bottled top-load unit has a simpler, more accessible reservoir, while a bottleless, point-of-use dispenser connects directly to a water line and relies on internal filters that need their own maintenance schedule.
Bottled Top-Load Dispensers
- Open reservoir design makes manual scrubbing straightforward
- Contamination risk concentrated around the bottle neck and cap seal
- No filter cartridge to track or replace separately
- Full clean typically takes 15–20 minutes start to finish
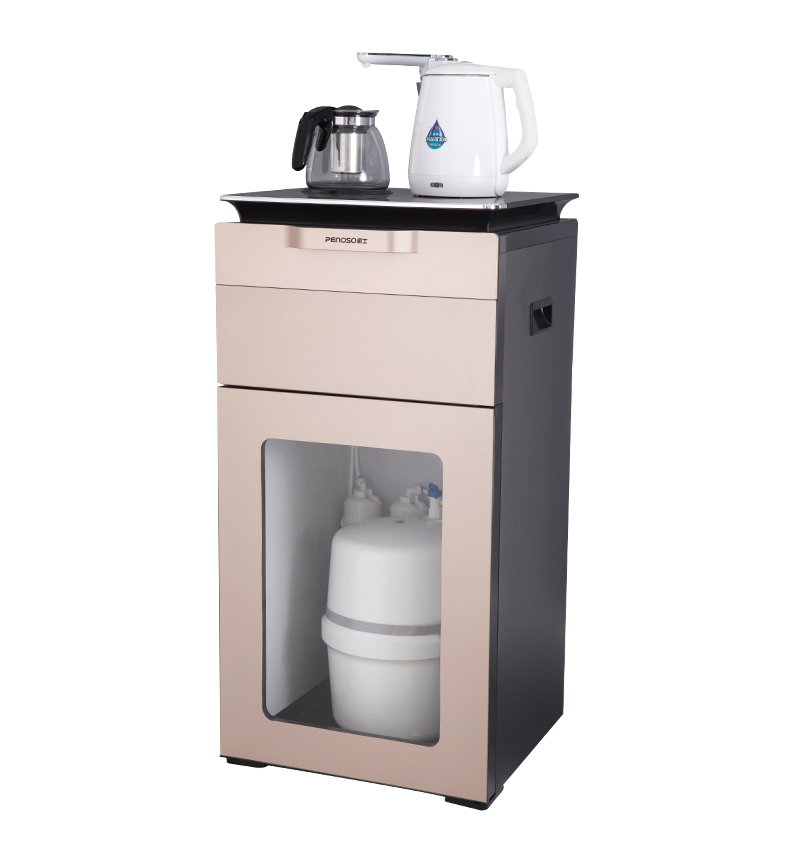
Bottleless / Point-of-Use Dispensers
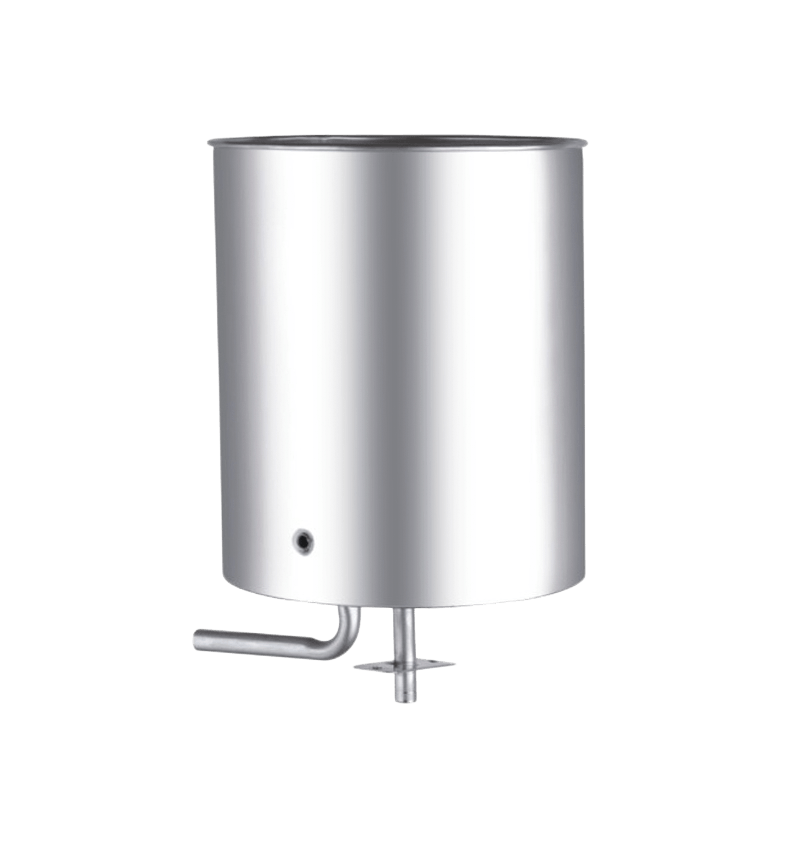
- Sealed internal tank requires flushing rather than open scrubbing
- Filter cartridges need separate replacement on a 3–6 month cycle
- Line connections add extra points where sediment can collect
- Deep cleaning often needs a manufacturer-approved flush kit
RoutineBuilding a Cleaning Schedule That Actually Prevents Buildup
| Frequency | Task |
| Daily | Wipe exterior surfaces and the dispensing area with a clean, damp cloth |
| Weekly | Empty and clean the drip tray to prevent standing water and bacterial growth |
| Monthly | Perform a full internal sanitization using the step-by-step process above |
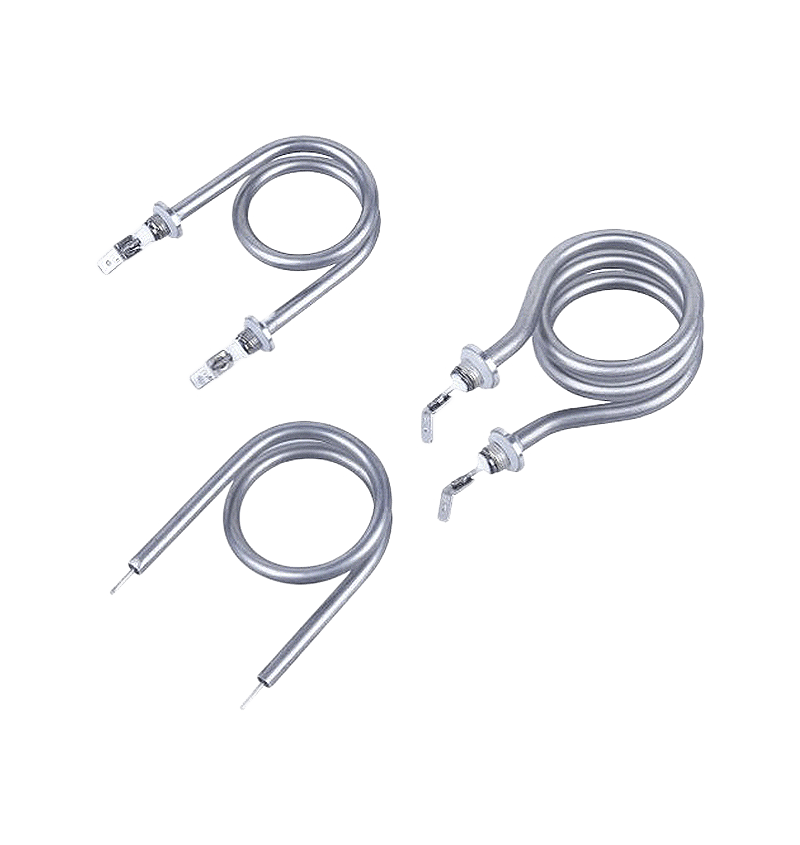
| Quarterly | Deep clean and descale, paying close attention to mineral buildup on heating elements |
| Biannually | Replace filters where applicable and consider a professional service check |
Warning signsSigns Your Water Dispenser Needs Cleaning Right Now
- Water tastes flat, metallic, or noticeably different from what comes out of the tap directly
- A musty or sour odor is present near the dispensing nozzle or reservoir opening
- Water flow has slowed or sputters, often a sign of mineral scale restricting internal lines
- Visible discoloration, film, or spots appear inside the reservoir or around the drip tray
Regional factorsHard Water Areas Need a Different Descaling Routine
Mineral content in the local water supply changes how often descaling is actually needed. In hard water regions, calcium and magnesium deposits can form visible scale inside a reservoir within just a few weeks, well ahead of the standard quarterly schedule. A longer vinegar soak — 20 to 30 minutes rather than a quick wipe — combined with more frequent quarterly descaling every six to eight weeks instead of every three months keeps scale from affecting internal components like heating coils or compressor lines.
EscalationWhen Cleaning Isn't Enough: Signs You Need Professional Service
- Unusual odor or taste persists even after a complete sanitization cycle
- Water flow remains weak or inconsistent after descaling internal lines
- Visible leaks appear from seams, seals, or the base of the unit
- Heating or cooling function stops working correctly despite a clean reservoir