 English
 عربى
 Português
 Español
A chalky ring around the hot-water tap, a faint damp smell from the cold tank, and a flat taste in the first glass of the morning are the three complaints we hear most often from water machine owners. None of them means the machine has failed. They mean the wet surfaces inside it - reservoir, tubing, taps and drip tray - have collected the same mineral scale and biofilm that forms on any surface left damp at room temperature.
The short version, before the detail: a full clean takes 25 to 40 minutes, needs one food-safe acid, one soft brush and at least two rinse cycles. Almost nothing has to be unscrewed. Everything downstream of the reservoir is cleaned by running solution through the machine and flushing it out again.
How Often a Water Machine Actually Needs Cleaning
Most manufacturers land in the same window: every one to three months for a household machine, and monthly for a shared unit in an office, school or clinic where twenty or more people draw water every day. What moves the number is not how much water you drink, but how warm and how mineral-rich that water is.
| Machine type | Routine clean | Deep clean | What drives the interval |
|---|---|---|---|
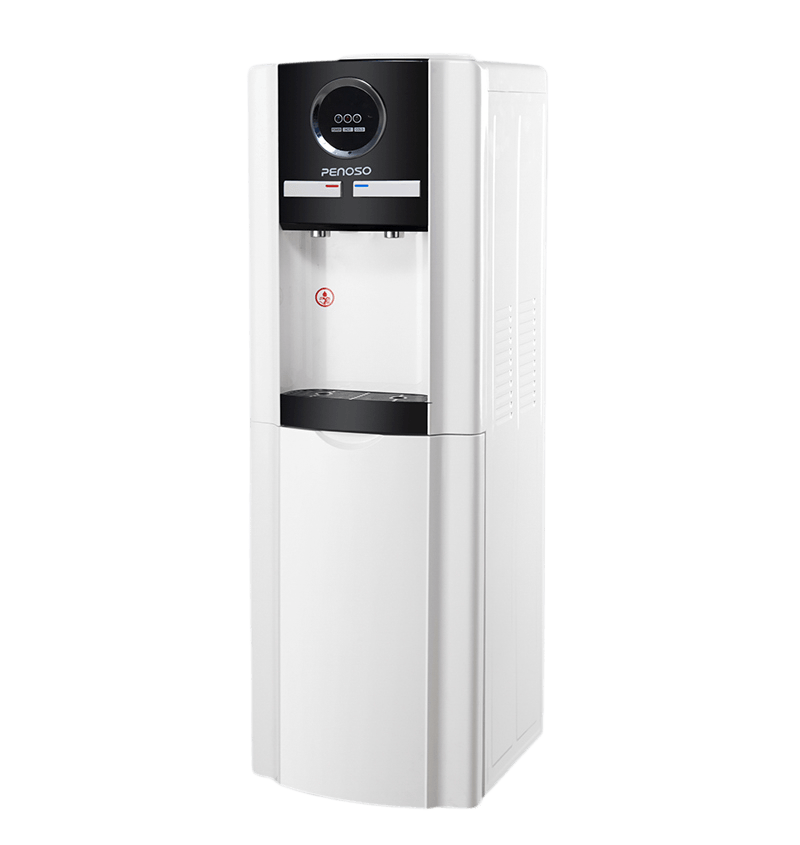
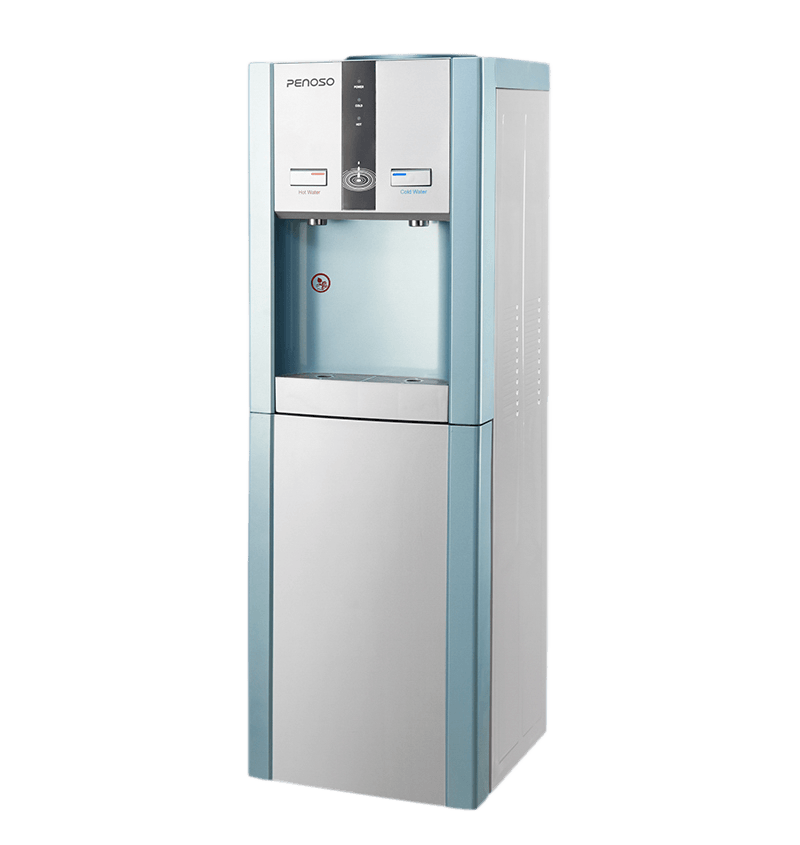
| Top-loading bottled dispenser | Every 6-8 weeks | Every 3 months | Open reservoir; dust and spills enter at the bottle collar |
| Bottom-loading bottled dispenser | Every 6-8 weeks | Every 3 months | Suction tube and pump line hold residual water |
| Countertop or desktop unit | Every 4-6 weeks | Every 2-3 months | Small tank heats and cools in short, frequent cycles |
| Direct-piped dispenser | Every 8-10 weeks | Every 4-6 months | Sealed water path, but the filter housing collects sediment |
| RO dispenser or all-in-one purifier | Every 3 months | Every 6 months | Scale on the concentrate side; filters age on a schedule |
| Tea bar machine | Every 2-4 weeks | Every 3 months | Water at 95-100 degrees Celsius scales the heating tube fastest |
The gap between routine clean and deep clean matters commercially as well as hygienically. Weekly wiping of the taps and drip tray removes most of what people actually smell, while the quarterly deep clean deals with scale inside the hot tank that quietly raises energy consumption.
Choosing a Cleaning Solution
- White vinegar, diluted 1:3 - one part vinegar to three parts water. Cheap, effective on limescale, needs a 30-minute soak and a thorough rinse to clear the smell.
- Citric acid, 2 percent - roughly 20 g per litre of warm water. Dissolves scale faster than vinegar when warm and leaves no odour behind.
- Diluted household bleach, 2 mL per litre - about half a teaspoon per 4 cups of water. Use it only on removable hard-plastic reservoirs, and only if your manual allows it. Never on stainless steel, silicone seals or the membrane side of an RO system, and rinse three times afterwards.
Two things to leave out: dish soap, which foams in the tank and can be tasted for days, and scouring powders or steel wool, which scratch plastic and give bacteria somewhere to settle. Many dispenser makers now advise skipping bleach altogether because it attacks seals over time; citric acid does the same job without that risk.
Cleaning a Water Machine Step by Step
- Unplug and drain. Switch off at the wall, remove the bottle or close the inlet valve, and drain both tanks into a bucket. A typical 5-gallon dispenser holds 1 to 2 litres cold and up to 1.5 litres hot, so keep the bucket under the tap for a full minute after the flow stops.
- Remove what is designed to come off. Drip tray, bottle collar and reservoir lid on top-loading units; the suction tube on bottom-loading ones. That tube is the part most often forgotten.
- Run solution through the water path. Pour 2 to 4 litres into the reservoir and dispense from both taps until the liquid runs clear at each outlet. This is what cleans the internal tubing no brush can reach.
- Let it soak for 20 to 30 minutes, or up to two hours for heavy scale. Warm solution works noticeably faster than cold.
- Scrub the exposed surfaces with a soft brush or non-scratch sponge, and use a cotton swab on the tap nozzles and the seam under the collar, where biofilm sits.
- Rinse at least twice with clean water, dispensing through both taps each time. Use three cycles after bleach. Stop when a glass of rinse water tastes of nothing at all.
- Refill before powering up. Dry-firing an empty hot tank is the most common way a cleaning session turns into a repair. Fill, wait ten minutes, then reconnect.
The same sequence, with slightly different disassembly, is described in more detail in the reference guide on cleaning a water dispenser if you want a second opinion for a specific model.
Where Cleaning Differs by Machine Type
Bottled top-loading and bottom-loading dispensers
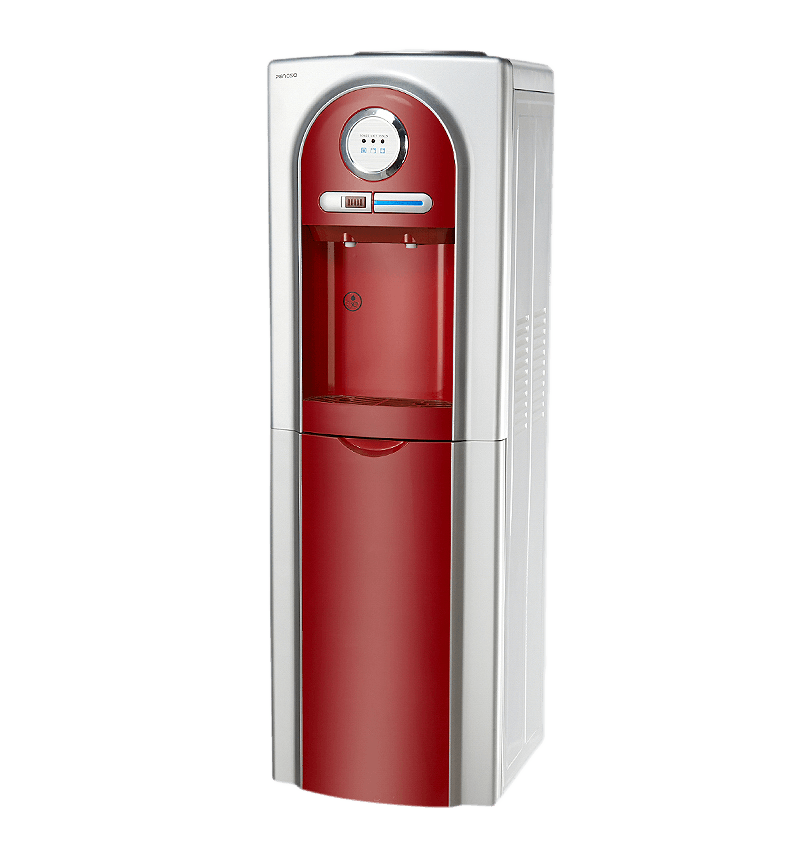
Top-loading units open the reservoir to air at every bottle change, so the collar and probe assembly need a weekly wipe. Bottom-loading units keep the water sealed but push it through a pump and a longer suction line; flush those a full minute longer than feels necessary.
Direct-piped dispensers
There is no reservoir to scrub. Close the supply valve, run solution through the inlet, let it sit, then flush. The filter housing and inlet fittings deserve the attention instead, and every joint is worth checking for leaks when the supply goes back on.
RO dispensers and all-in-one purifiers
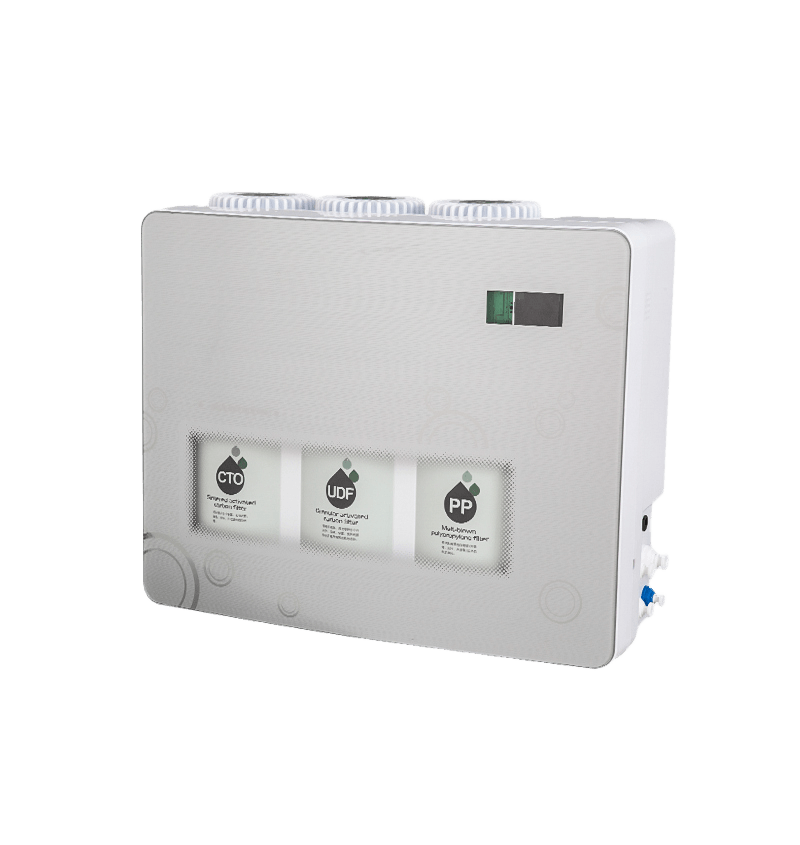
Cleaning covers the tank, taps and drip tray. The RO membrane is not descaled with vinegar or acid; it is protected by the pre-filters and replaced on schedule. Sanitizing a tank while a spent pre-filter sits upstream simply re-contaminates the water.
Tea bar machines
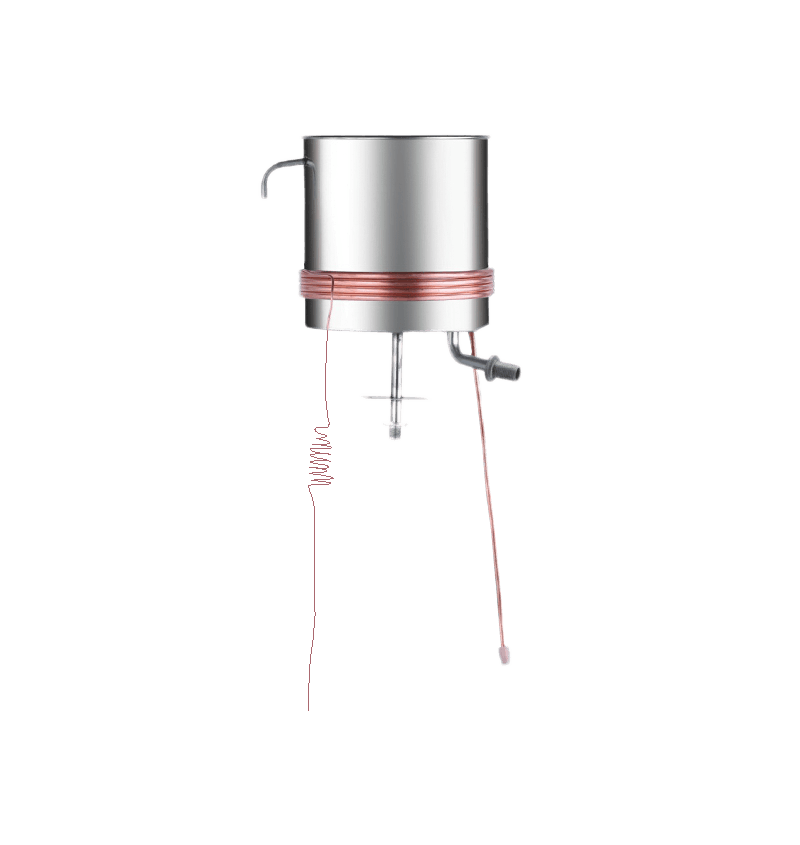
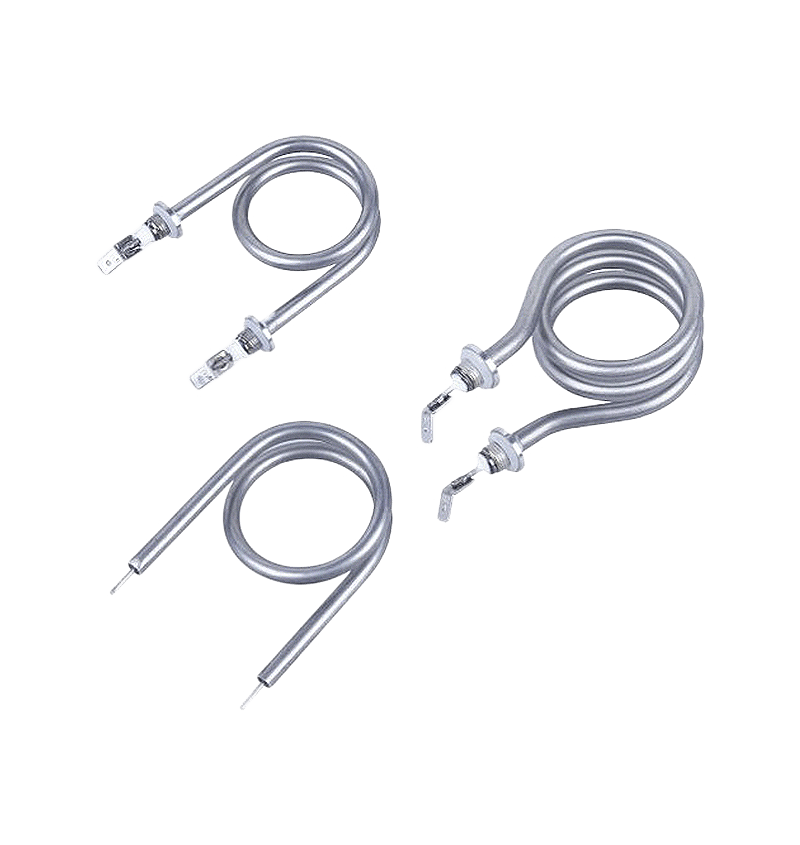
Holding water near boiling makes tea machines scale faster than any other type. Weekly descaling with citric acid keeps the heating tube efficient; monthly is enough where the water is soft. Rinse the brew spout and the water inlet separately, because tea residue and mineral scale behave differently.
 PS-T-A9 Tea Dispenser Machine for Home and OfficeA push-button tea machine that uses any tea, with hot and cold water and a stainless steel and ABS body for home or office.View Product →
Where Contamination Actually Hides in the Water Path
- Machine water path
- Bottle collar, probe and water guide - highest risk, touched by hands and open to dust
- Drip tray and grid - highest risk, and the easiest part to wash weekly
- Tap nozzles - high risk, where a two-second daily wipe outperforms an annual deep clean
- Internal tubing - high risk and invisible, reachable only by running solution through it
- Cold tank and lid seam - medium risk, usually the visible film people notice first
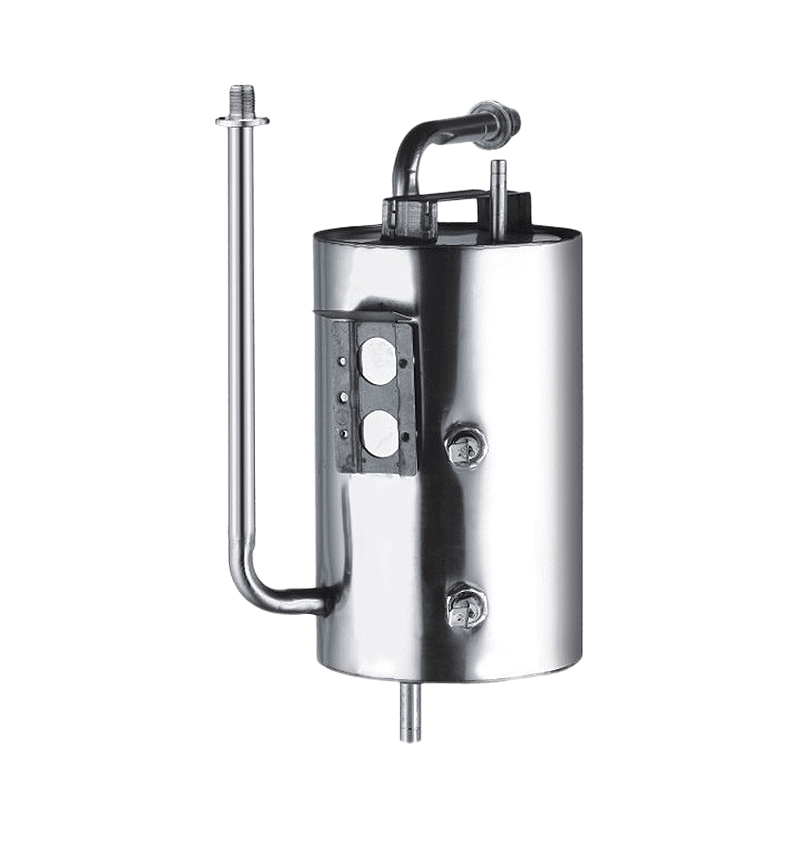
- Hot tank and heating tube - high scale, low bacterial risk because of the temperature
Parts That Should Be Replaced, Not Cleaned
Cleaning restores hygiene; it does not restore filtration capacity. A spent CTO carbon block keeps passing water long after it has stopped adsorbing chlorine and odour, and a loaded filter becomes a growth surface rather than a barrier.
Replace on the calendar rather than on taste: PP sediment filters every 3 to 6 months, CTO carbon blocks every 6 to 12 months, and RO membranes every 24 to 36 months, sooner in hard water. Pre-filters do the protecting in a multi-stage setup, which is why replacing them on time costs less than replacing a membrane early. The roles of each stage are set out in the overview of multistage water filtration systems.
 AQ-CTO Quick Fitting CTO Replacement Water FilterA quick-fitting CTO replacement filter for water purifier systems, with a recommended 3-6 month replacement interval and 0.3 kg weight.View Product →
How to Confirm the Clean Worked
Three checks. Smell first: fill the machine, wait a few hours, and smell the water in a clean glass - a clean tank smells of nothing. Then taste: the flat, slightly metallic note of a dirty cold tank should be gone by the second rinse, not the fifth. Then measure: a TDS pen separates dissolved solids coming from your water supply from solids coming from inside the machine, which is the difference between buying filters and booking a repair.
 TDS-01 Digital TDS Meter Pen for Water TestingA pocket TDS pen with 0-9990 ppm range, 1 ppm resolution, temperature and hold functions, useful for checking water filters, aquariums, pools and drinking water.View Product →
What a TDS reading cannot tell you is whether bacteria are present. A machine that still smells musty a week after cleaning needs the collar, tubing and taps cleaned again, not a new filter.
Six Mistakes That Shorten a Machine's Life
- Powering up before the hot tank is full, which can burn out the heating element within seconds.
- Using bleach on stainless steel tanks or silicone seals and leaving it to soak.
- Leaving cleaning solution in the machine overnight for a deeper clean; long acid soaks pit some plastics and harden seals.
- Wiping the reservoir with the sponge used for dishes, which adds more bacteria than it removes.
- Cleaning the tank but skipping the collar, drip tray and tap nozzles, where the smell usually starts.
- Storing a machine with water inside between seasons; drain it completely and leave the lid off to dry.
A workable rhythm for most households: wipe the taps and drip tray weekly, run a vinegar or citric acid clean every two months, replace pre-filters when the calendar says so, and deep clean the whole water path twice a year. Write the dates on the filter housing if it helps. That adds up to roughly thirty minutes of work four times a year, and it is the difference between a machine that still tastes fresh after a decade and one that quietly becomes the reason nobody reaches for a glass of water anymore.